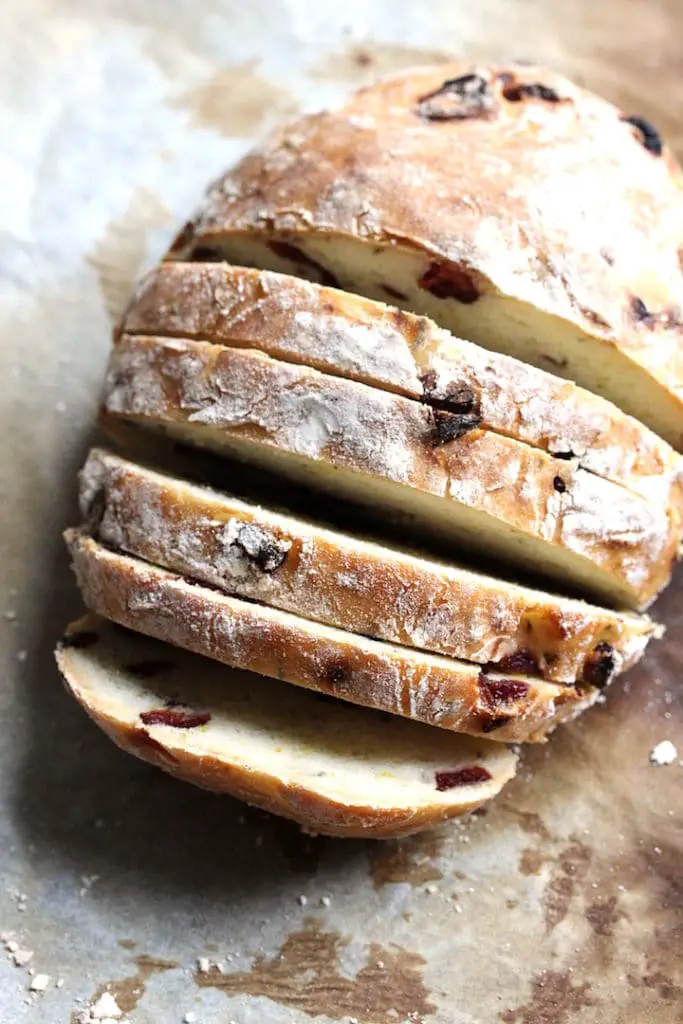
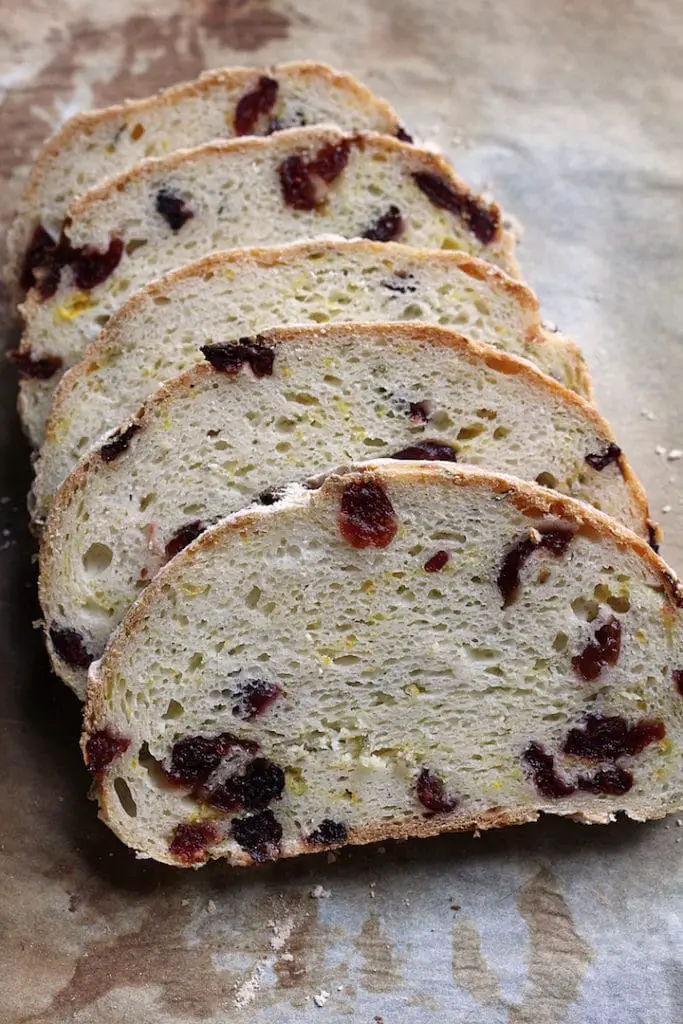
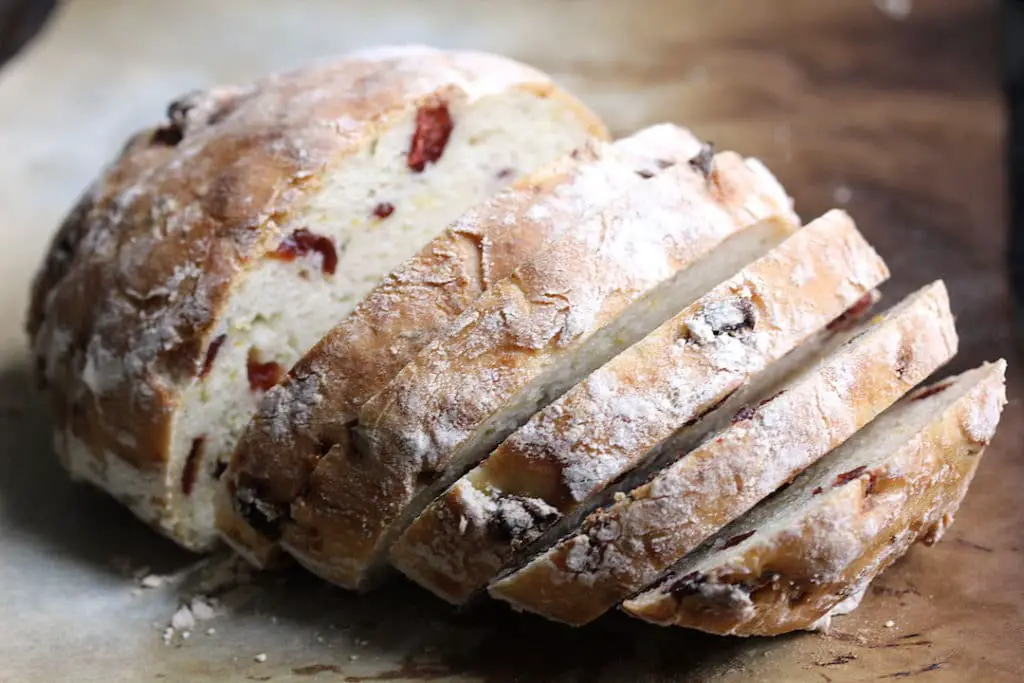
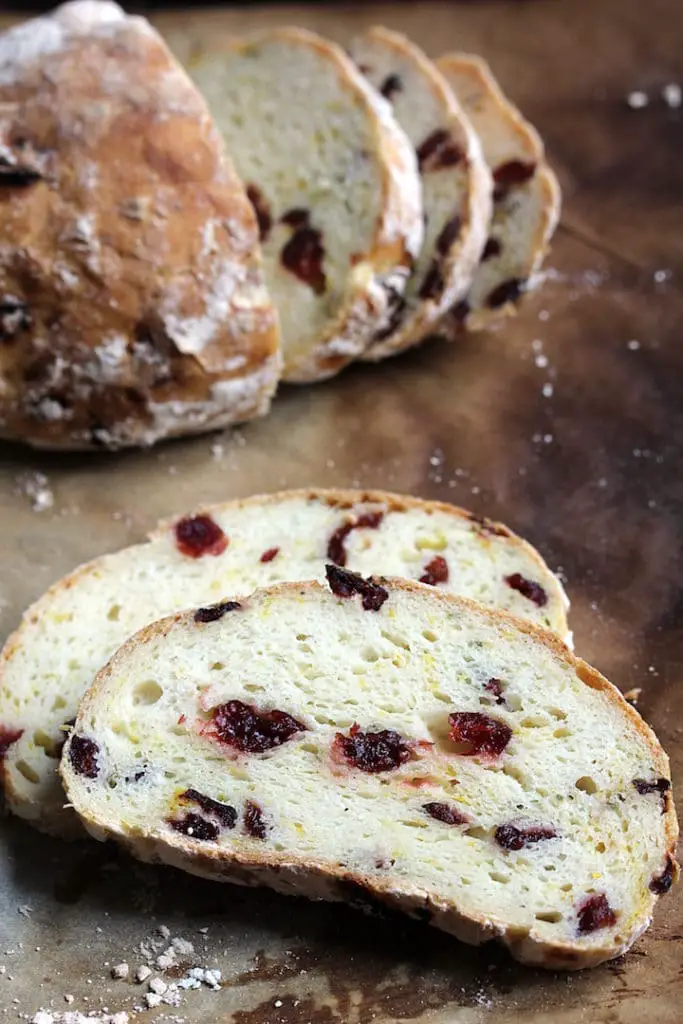
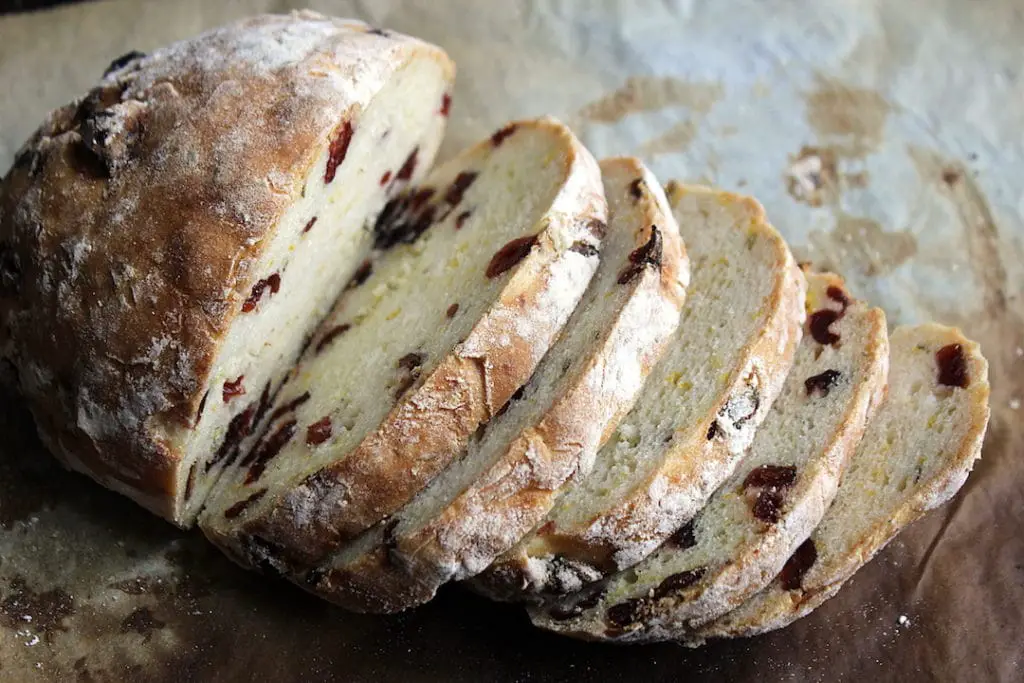
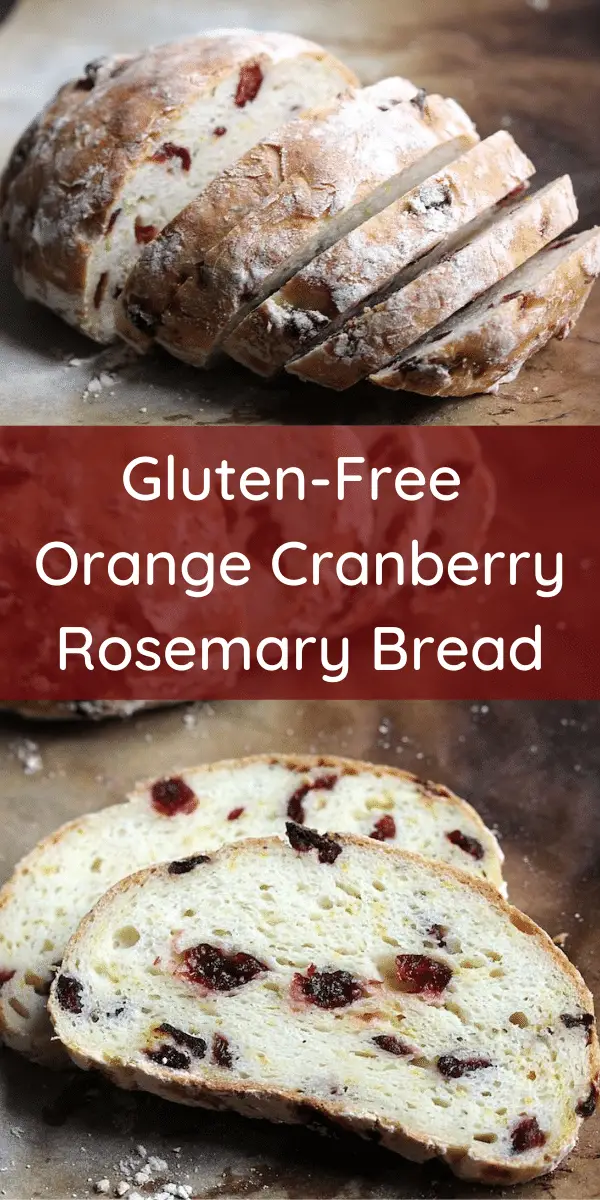
This Gluten-Free Orange Cranberry Rosemary Bread will impress any gluten-free skeptic! It’s got a wonderful crumb and makes a fantastic edition to any (vegan) cheese plate. I promise, gluten-free bread has never tasted this good!
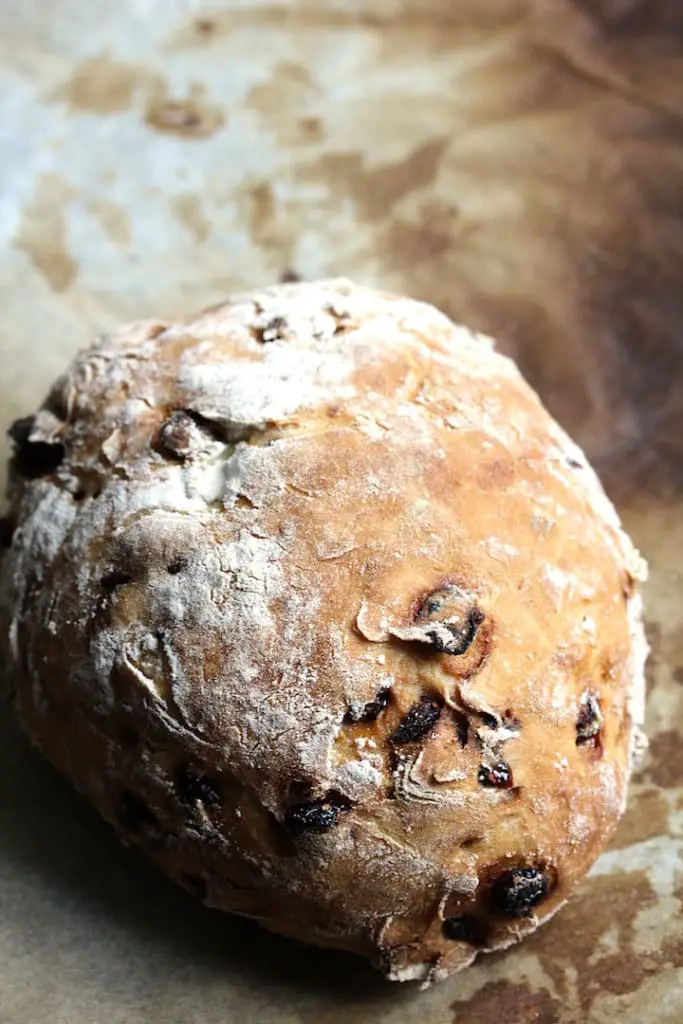
The best Gluten-Free Orange Cranberry Rosemary Bread!
I love the combination of these flavours. It’s not your typical loaf of bread, it definitely has a fancier vibe to it. It might not be something you eat for breakfast every day, but it makes a great edition to a grazing plate or with some slices of vegan brie! It would make an amazing grilled cheese, too!
The instructions are a bit long because there are quite a few steps. I promise that once you get the hang of making gluten-free bread, it gets easier!
Please read all the instructions and follow the recipe to get the best results!
The Must-Use Ingredient to make this Gluten-Free Orange Cranberry Rosemary Bread
The most important ingredient when making gluten free bread is the flour blend of course! I developed a Gluten-Free Bread Flour blend and that is what I have used in this recipe. Please, please, please use that blend. I cannot guarantee that any other flour blend will work. Gluten Free flour blends are all over the map — some are predominately bean flour, some are high in rice flour, some are mostly starch, some have xanthan gum and some do not. Sadly, if you want tasty gluten-free baked goods, you have to use exactly what the recipe says to use. If you use a different blend, you will not achieve the same results.
HOW TO MAKE THIS RECIPE
My gluten-free bread recipes will start to sound like a broken record–but these instructions are very important!
Weigh the flour: Precision is key. We all scoop and measure things out different, and flour is one of the most consistently incorrectly measured ingredients. In order to ensure best results, I have indicated the flour and water in grams.
Hydrate the Flour: Gluten free bread is great in some ways — you don’t need to worry about gluten! Regular flour bread recipes often have very specific instructions because the way you work with gluten will effect the texture. Many people think that because there is no gluten in gluten-free bread, you don’t need to knead the dough or work it at all. But, you do. This dough is way too wet to knead, but you need to beat it for 5 minutes to ensure that the flours hydrate. I use a kitchen aid hand mixer with dough hooks, but my mom has had success using her food processor. You can do it by hand, but you’ll need some strong arm muscles! After 5 minutes of beating, your dough should almost look like butter cream frosting in texture.
Let the dough rise, then chill: Like most bread recipes, the dough will go through two rises. The first rise will be in the bowl you used to prepare your dough. You want to let it rise 1.5-2 hours, until double in size. The time will depend on your environment. If it’s a hot summer day and you have no AC, the rising time will be less. If it’s nice and cool, it’ll take longer. You’ll then put the dough in the fridge for 4-6 hours, or overnight. This helps make the dough easier to work with.
Bake: During the dough’s second rise, preheat your oven. You want to make sure it has heated properly. I turn my oven on to warm up when my bread is going through its second rise. Bake the bread in the middle rack, and have another rack at the bottom with an empty small roasting pan or something similar. When you put your bread into the oven, throw a cup of hot water into the pan, closing the oven door quickly after. This will create steam that helps the bread rise and get a crusty edge.
Other Vegan + Gluten-Free Bread + Baking recipes!
MAKE SURE TO USE MY BEST GLUTEN-FREE BREAD FLOUR MIX FOR THIS RECIPE! YOU WILL NOT RECEIVE OPTIMAL RESULTS IF YOU SUBSTITUTE WITH ANOTHER BLEND.
This Gluten-Free Orange Cranberry Rosemary Bread has a wonderful crumb and holds up beautifully! Gluten-free bread has never tasted this good!
- 230 grams My Best Gluten-Free Bread Flour mix, plus more for dusting - see note for link, no substitutions*
- 1 1/2 tsp Instant Yeast
- 1 tbsp sugar
- 1 tsp salt
- 210 grams water ( 3/4 cup + 2 1/2 tbsp)
- 1 1/2 tbsp Olive Oil
- 1/3 cup dried cranberries
- 2 tbsp chopped fresh rosemary
- 1 tbsp orange zest
-
Whisk together the flour, yeast, sugar, and salt in a large mixing bowl.
-
Combine the water and oil in a measuring up.
-
Using a stand mixer with the dough attachment, or a hand mixer with the dough attachments, slowly incorporate the liquid with the dry ingredients at a slow speed.** After you have added all the liquid, beat the dough for a full 5 minutes. You will notice the texture of the dough change. This step is very important to ensure that the flour hydrates properly.
-
Leave the dough in the mixing bowl and cover with plastic wrap. Let the dough rise for 1-2 hours, until double in size. Rising time will depend on the temperature of the room -- if it's cold, it will take longer to rise. If it's warm, the rising time will be shorter.
-
Chill the dough for 4-6 hours, or overnight. This will help develop flavor but will also help you work with the dough as it will be very wet.
-
Line a baking sheet with parchment paper. Sprinkle some flour on the centre of the sheet when the loaf will go.
-
Once your dough has chilled, fold in the dried cranberries, rosemary, and orange zest. The dough will be extremely sticky.
-
Using an oiled spatula (this helps prevent the dough from sticking), shape the dough into a ball in the bowl. Gently plop it onto the centre of the baking sheet where you have sprinkled some flour.
-
Wet your hands well and gently shape the dough into a ball. You must wet your hands or the dough will stick.
-
Cover loosely with plastic wrap and let rise for 30-45 minutes. It won't double in size this time around.
-
Preheat the oven to 450 degreed Farenheit with one rack in the middle and one on the bottom. Place a small roasting pan (or somthing similar) to the bottom rack. When you put the bread in the oven, you'll pour hot water into the pan to create steam. You want the oven to be very hot and at temperature, so I like to have it running a good 30 minutes before I plan to put the bread in the oven.
-
Remove the plastic wrap and sprinkle the top of the loaf with flour (not necessary, but makes it look more artisinal!) Have 1 cup of hot taper water ready to use when you place the dough in the oven.
-
Place the baking sheet on the middle rack and quickly pour the hot water into the pan on the bottom rack. Close the oven door quickly. This technique creates steam which helps the bread rise and also get a nice crust.
-
Bake the loaf for approximately 35-40 minutes, it will be a deep dark brown.
-
Once the loaf has cooled slightly, remove it from the baking sheet and place on a cooling rack. Let the loaf cool COMPLETELY before cutting into it. If you cut it too early, the texture will not be as good.
-
After you have cut into the bread, store it in a paper or plastic bag. If using a plastic bag, do not seal it completly. You can also loosely wrap it in plastic wrap. It is best if eaten within 2 days, but I've kept it longer and it holds it's texture pretty well.
*I worked a long time to create a perfect flour blend and this recipe was designed specifically to work with this blend. I have not tried this recipe with other blends and cannot guarantee you will achieve the same results. There are sooo many gluten free flour blends out there and they are all so different. I highly recommend using my blend, linked above and in the post.
**My mom has successfully used a food processor. You could also do this by hand but it will take a while!
If you make this recipe, let me know by tagging me on social media @theveganharvest or commenting below!
Pin this recipe to save it for later!

Ça fait plus de 20 ans que je mange sans gluten. J’ai essayé plusieurs recettes de pain mais jamais aucune n’était à la hauteur d’appeler ça un pain. Eureka! Cette recette est fantastique, merci beaucoup.
Je suis tellement heureuse! Merci d’avoir essayé la recette!
I dont see a link to flour.
Hi Sherry, here is the link to the flour blend recipe: https://theveganharvest.com/2020/05/26/the-best-gluten-free-bread-flour-mix/
I’m really excited about this flavor blend! Is the dough refrigerated in the mixing bowl?
I’m having to stop myself from eating it all in one sitting! It’s delicious!!! A perfect combination of flavors! Thank you for sharing!!
Hi Vickie, sorry I didn’t see your other comment earlier! I normally do refrigerate the dough in the mixing bowl. I am so glad you like the recipe! It’s one of my favourites as well 🙂
I just ate half the loaf! Five stars, finally something that tastes like real bread that I can eat! Thank you thank you thank you!!! The flavour combination is wonderful. The recipe seemed complicated at first but really came together quickly. I mixed the flour in the morning before going out. Made the dough in the evening and then baked it in the morning.
Awe, thank you!! I am so glad it worked well for you!!
I followed the recipe exactly but my dough was super runny. I am wondering if that is because I’m in a humid climate and next time I just need to add less water?
Hi Rebecca, sorry the dough didn’t turn out as expected! It won’t be like a regular bread dough, it will be the texture of whipped frosting (but heavier, of course). Climate can certainly effect the dough. The ingredients you use for the bread flour will also make a big difference, but it sounds like you followed the bread flour recipe. I recommend weighing the water rather than measuring as it will be the most accurate.
For the next time, I’d follow the recipe and gradually add extra of the flour until you get the right consistency rather than using less water. I find in this case it’s easier to slowly add flour than extra water when you’re mixing the dough.
I hope that helps!
Thank you for this incredible recipe! Absolutely the first time in 10 years I have had an artisan brand since being diagnosed with coeliac disease. I added some pecans to mimic A bread I used to purchase. So divine. Thank you for all of the detailed instructions.
Absolutely divine! This is the first artisan bread I have tried since being diagnosed as a coeliac 10 years ago. Tastes just as good as I remember. I doubled the recipe so it would be twice as worth my time! I also added pecans. Took all my willpower not to eat the entire loaf in one sitting. Freezes excellently as well. Thank you so much for making this recipe!
Thank you Melanie! I am glad you like the recipe 🙂
Can I double the recipe ? It is quite a small loaf
Thanks!
I have doubled this recipe successfully, yes! 🙂
The loaf is going into the over right now but it never really rose. I followed everything closely so I don’t know what happened. It rose a little but didn’t double in size. Hopefully it will taste good even if very small!
Hi Caroline, a lot of things can effect if your bread rises, like the quality of the yeast, the temperature, and sometimes it just takes longer in other environments. It should rise more in the oven, though. Hopefully you liked it!
Hi, I’m excited to try this! Have you ever tried it in a bread machine with a gluten free setting or artisanal setting?
I’m sorry, I have not! I don’t have a bread machine so I have not been able to test my bread recipes in one. I don’t know if it will work.